(Revised and updated June 2022)
You’ve certainly read many articles so far about cleaning of recorded vocal tracks with de-noising, de-winding, de-harshing, de-essing, de-whatever.
We will try to drive your attention, however, a little elsewhere. To let you take a look at this topic from perspective you might have not taken previously.
It might help you with efforts like above, making them less time consuming, or sometimes even not super necessary!
We think that it’s really not about working your socks off. It’s about making smart decisions, do less and make use of saved time for something way more creative.
That one with special attention to choose the right mic for your voice!
A lot of people feel they do/did it, when actually they don’t/didn’t, at least not to extents they should, in our opinion.
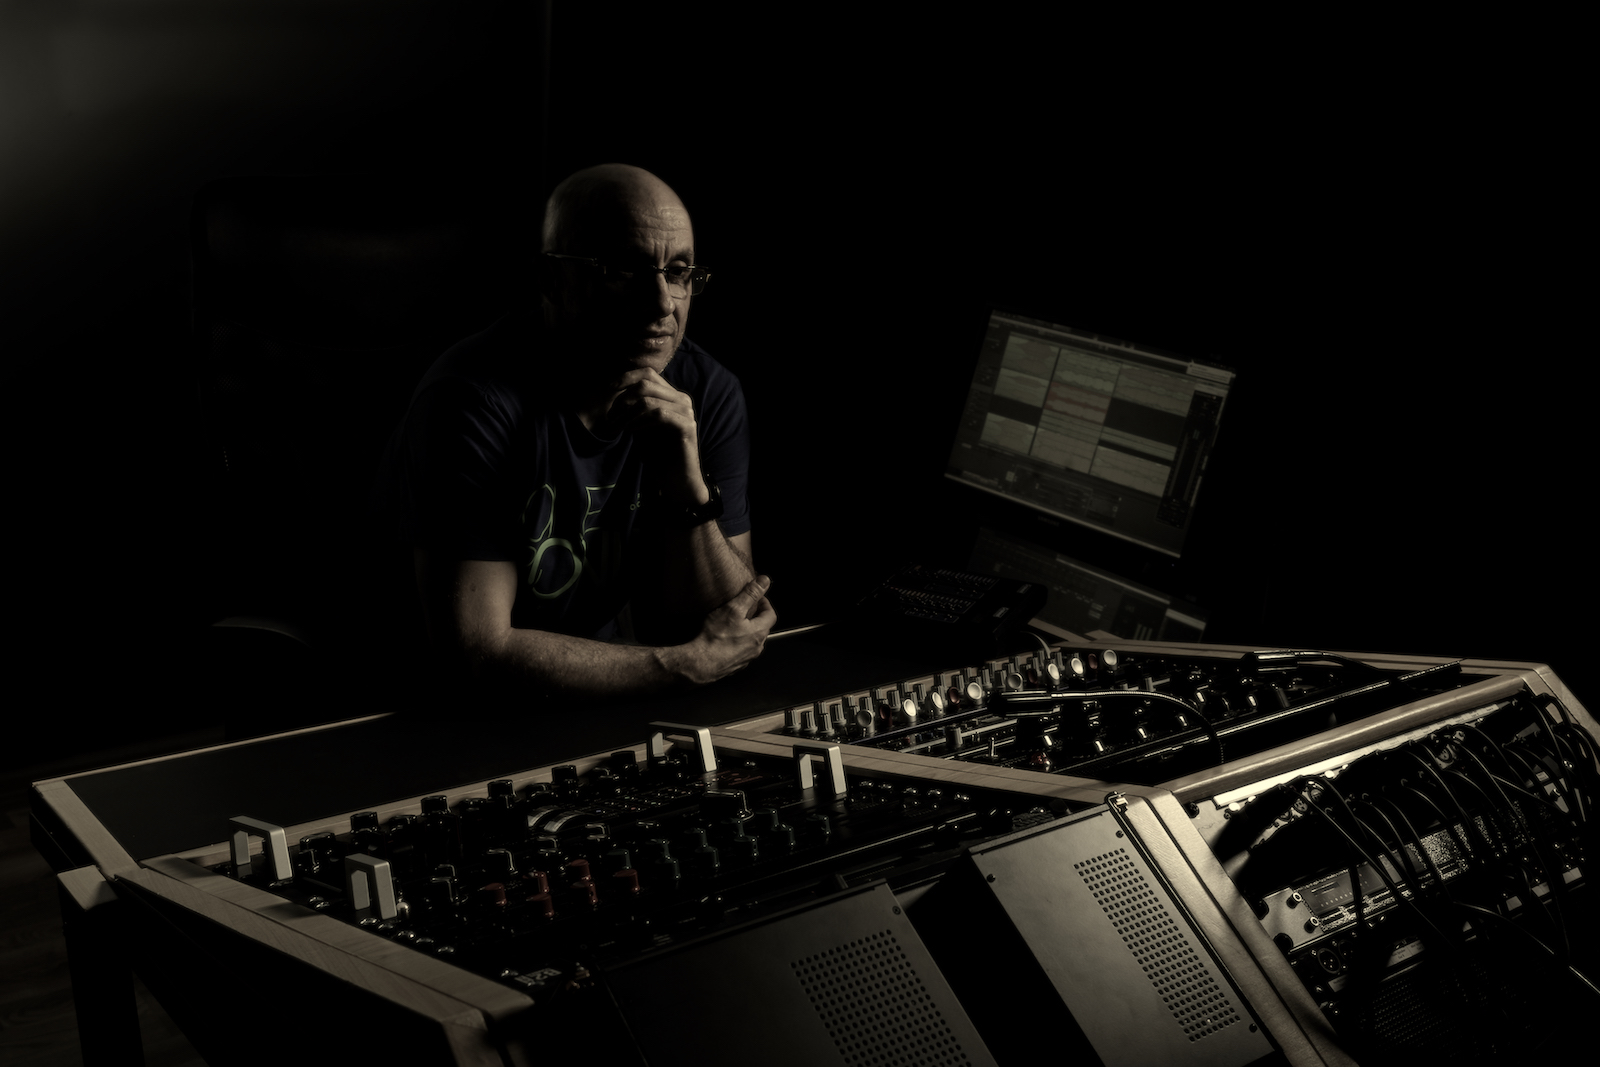
Be no surprised. Vocal mic is arguably the most important element in your recording chain!
So, try to not cut corners nor do any savings on it either!
Any compromise usually involves other compromises elsewhere. That might be the reason why topics like this about clean vocals pop out from time to time. Also the reason (not fully justified though!) for ‘fix it in the mix’ approach.
Please note. If you are very constrained by budget and there’s no chance for a new mic any time soon, you may want to skip the content and go directly to the last part for some mixing advice.
However, if you’re out to choose your ideal mic (even for the future), we hope you’re going to find a handful of information.
Please note. You’re at way more comfortable position, when you record in a studio that’s equipped with number of mics to choose from. The info below will help you, however, to make better/more conscious decisions for your voice. Yes, you have impact on what you would like to work with and sound like. Big time!
And yes, it might be sometimes beneficial to change mic, performance to performance, too! That’s a big benefit from having a set of mics at disposal.
Those who who record in a studio may skip next paragraphs and go directly to next part section.
For the others. First of all, don’t urge to buy mic. Try to organize yourself a mic test prior to any purchase!
The test in which you’ll be able to check as many mics as possible at once (more on that later on).
It might be some logistic challenge to have as many demo mics as possible available for testing, yet we’re more than sure that you can manage that.
We realize an excitement from a new toy. Be patient, though. It will pay you off multiple times!
Thus, don’t get attracted by mic, because it’s popular.
Don’t buy mic that gets lots of reviews, even the positive ones.
Take that as a guideline only to for example find out which mic could be worth to add to testing collection and that’s it.
Why? Because every voice is different. Every vocal is recorded under different conditions. It’s a personal thing that is always a subject to be chosen upon your voice/performance features/characteristics. It asks to ‘match’ your voice, the way you operate it, and perform in perfect convergence with whole recording environment.
Then, do not limit yourself just to one type of mics!
For example. People often look for high-end extension, what in many cases has no purpose other than just more highs=better reasoning, which is not always true!
Preferences like this favour condenser microphones. However, you might be pretty surprised how distorted that extension could be under certain conditions in such, even in $1k price range! More on that later on.
Then, always ask a pro to participate in your test! Either locally or remotely (for example via recorded tracks).
You may simply not pay attention to what’s important, esp. if you’re less experienced.
Ask for their opinion. Good engineer will quickly pick up mic(s) that might serve well, given your voice and and the way you use it.
Yet, some side note. You do not choose mic to to please engineer, but to get the best voice presentation in a recording realm. These two seem unrelated at the first sight, yet in fact they have pretty much in common.
For testing and reviewing purposes, prepare samples of your performing voice, recorded with different mics.
Try to record all the samples one after the other. It’s important to have at least semi equal conditions.
Thus, try to record in a row, when you’re in similar mood and you’re able to perform with similar energy. Be sure, it has quite of impact on test!
Try to also focus entirely on performance only and go with it as natural as you can get. Why it is important? Because bias is lurking.
Do not underestimate the power of bias/cognitive distortion everybody is vulnerable to!
And bias might be coming from just one element you’re hearing that you particularly like in the sound, what might help effectively sidetrack from what does not work well.
You might be also attracted by a more ‘pro’ look of the mic! As simple as it sounds!
Be really aware. Try to disconnect yourself from any prejudices, preconditions, costs considerations and so on during testing.
Focus on as best performance as possible.
You might be surprised on this matter too, on how many test recordings it’s audible which one mic you unconsciously preferred. Post-fact it often appears why.
Please also take that into equation. There are mics that you may take some time to get accustomed to. This especially applies when you try different type of mics, as sometimes there might be pretty big differences.
You may be spoiled for example, when you’re just more familiar/comfortable with previously used microphone. That also affects your perception and possible choices. There are high chances you’re going to prefer what you already know.
And that’s yet another reason to ask pro for external opinion.
Now you should be aware of some related, yet pretty important aspects of testing (not only mics!).
Of course, overall tonality in relation with your voice. And more true to the source mic should always be a good candidate, unless something specific is needed.
This is what anyone can relatively easily figure out. We don’t spend much time on it.
The devil is elsewhere.
When we test any stuff, we always try to hit its weakest points first.
For mics, this is the highs range reproduction.
This is because getting highs right is expensive! (not only in mics, btw.)!
Shortly. To compensate for some compromises/shortcuts/deficiencies, manufacturers happen to implement artificial (mostly electronic) boosts of these ranges. And this is when things get interesting and sometimes fall apart.
How to detect this?
This is where pros particularly come in handy!
On your own, you’d need to be able to hear different forms of distortion, artefacts and artificiality/unnaturalness.
The most obvious effect is uneven sizzling. That’s the distortion triggered by different voice facets at different thresholds, manifesting with different amounts.
It may be exposed more when mic compensates for the distance (lower pressures).
So, testing should include different distances from mic. That’s a good test to check how mic handles proximity effect- it affects clarity!
Try different dynamics. Sing forte as well as piano or even pianissimo.
Check what happens with tone then. If highs get boosted on the latter two or not? To what extent?
In some cases you may encounter pretty significant and pretty unnatural top end hype, that impacts not only the entire voice balance (what’s partially a result of different expression of the voice what you need to take into account!). First/foremost it brings out what mic might not handle well.
Some manufacturers call it extended clarity compensation for distant mic-ing or something similar.
What it is not! That’s usually just distortion brought from mic’s inability to reproduce the content with enough detail/resolution.
Things get even worse when mic characteristics/frequency response favours some presence ranges in narrow ways, then distortion have high chances to get particularly manifested. Or when voice has certain/specific timbre, for example.
And in this regard, budget mics are also particularly vulnerable.
That makes some mics more suitable for commercials and/or podcasts, rather than than for anything else. So, for all scenarios where voice works most of the time in pretty alike way (reduced dynamics, hyped presence).
Another subtleties you may want to watch out for are consonants, like sibilance, reproduction. They should not come out in a harsh or close to harsh alike way. Soundless consonants should not sound click’y either.
The above issues apply to all mic types, whether they’re condenser, ribbon or dynamic ones. And in pretty different price ranges.
Be particularly suspicious with mic descriptions offering so called ‘extended clarity’, or so.
There are exceptions though, so again- do tests!
Because of costs/compromises. Period.
The good news is that some mics have certain qualities that it’s worth to make some compromises in the high-end.
Some may pretty well handle the way vocalist performs and with enough pressure (low distance, high expression). Then compensation have chances to not be triggered to expose non-musical content. Or expose it at low/acceptable ratio.
The bad news is that it all may feel like some exploitation of people inability to hear what’s going on out there. That’s part listening skills, part monitoring resolution thing. This gets effectively obscured on budget monitors/headphones where also some compromises were made.
Don’t get anything for granted! Be just conscious, that some mics and then speakers simply cheat, giving false impression of vocal presence!
Yet another reason to ask reasonable pro.
Good mic candidates keep the balance within reasonable ranges (still watch out for difference from expression, though).
Vocals captured with such and boosted later on with an eq keep top-end relatively clean!
As simple as it sounds!
Btw. It might be some obvious obviousness. Make sure mic you’re using has the right pickup pattern for vocals. This is pretty well discussed everywhere, so we won’t spend time on it. This is just a sort of reminder that it’s essential to capture just performing voice, and not much anything else (like room for example).
Obvious, yet you might be surprised how often it happens that in any big test there’s always one (or more) stuff that’s not super suitable for the job.
Naturally, vocal sound in the mix is a sum of many ingredients/factors. It is arguably one of these elements that are more difficult to sit in the mix than others. Or maybe should we say: not as difficult as being pretty complex task to bring what’s best in the voice/performance in the context of other elements/performances!
Before mixing, you may want to choose best takes. Not only with best performances, but also on whether these takes ask for some cleaning or not (LF rumbling, plosives, clicks, etc.). Yet, that’s just simple preparation.
In the mix. Many people just cut vocals at their lower ranges. Such action makes vocals more exposed in upper ranges, what brings more focus out there. That’s how our perception works. Any additional non-musical content that’s there on top of vocal will just get more attention.
With added saturation, what also many people do these days, things quickly additionally stack up with all the byproducts of artificial processing.
Imagine dense mix where you need to slim down carefully vocals even further.
On that occasion, please note that vocal low cuts are not always necessary! That’s also mic choice dependent!
We also always encourage to do anything only on purpose!
Then, on the other side. Be careful also with making vocal too bright. As things in any mix are relative, there are usually options to have vocal distinct on top of the mix, without overdoing its upper ranges.
A pretty common mistake is that engineers are looking for presence in too many mix elements. This takes snow ball effect then, with over bright vocals on top of everything. Again, if vocals are there dirty, that’s what you’re going to have manifested in the mix then.
Of course, there’s sometimes need to have pretty dirty vocals for artistic purposes. However, it’s always best to have that under control of the effect that’s fully manageable/controllable. And usually not printed along with voice!
Happy mixing!